
The Art of Sourdough Baking: A Beginner’s Guide
Have you ever walked into a local bakery and been greeted by the intoxicating aroma of freshly baked bread? The crust, golden and crisp, with a soft and chewy interior, tantalizes your senses. Perhaps you’ve even thought to yourself, “I could never make something so delicious at home.”
Well, we’re here to tell you that you absolutely can. Welcome to our comprehensive beginner’s guide to sourdough baking, where we will demystify the process and equip you with the skills to create your very own artisan loaves of homemade bread.
Understanding Sourdough Bread
Sourdough bread is a truly unique creation, crafted through a natural fermentation process that harnesses the power of bacteria and wild yeasts. These microscopic organisms, which can be found in the environment and on the surface of grains, come together to form a sourdough starter culture. This sourdough starter is the heart and soul of sourdough bread, responsible for its distinct flavor, texture, and rise.
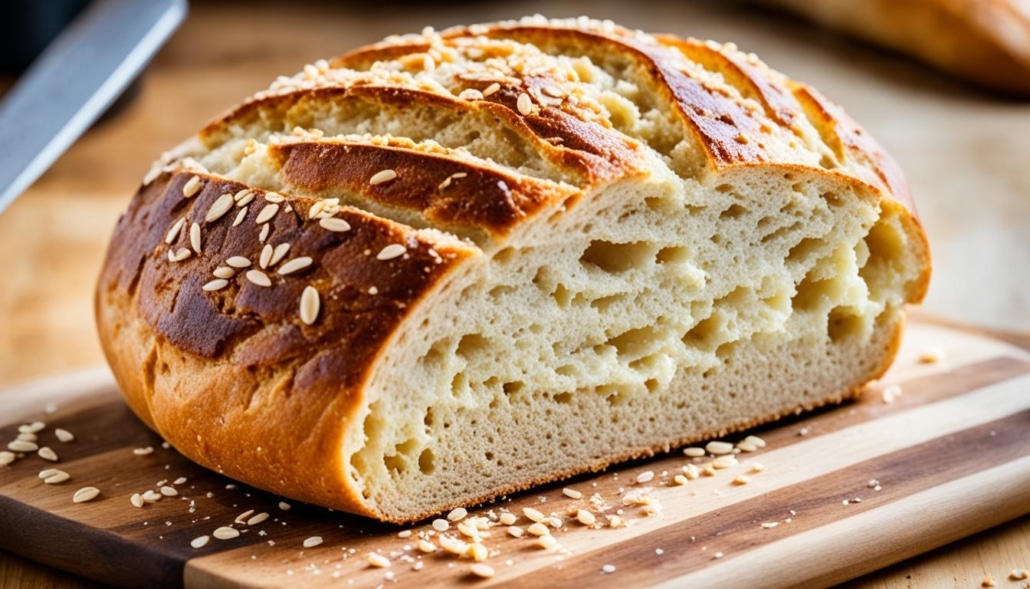
As the sourdough starter ferments, the bacteria present in the culture produce organic acids that contribute to the tangy flavor and chewy texture of the bread. Meanwhile, the wild yeasts in the starter produce carbon dioxide gas, which is trapped within the dough, causing it to rise naturally. This beautiful symbiosis of bacteria and yeast leads to a loaf of bread with a delightful tang, a satisfying chew, and a crust that’s just the right amount of crisp.
Sourdough bread stands apart from its commercially yeasted counterparts as it is naturally leavened. This means that instead of relying on packaged yeast, sourdough bread relies on the natural fermentation process of the sourdough starter to bring it to life. This intricate dance between microorganisms produces bread that is not only delicious but also healthier and more easily digestible.
With its unique flavor profile and health benefits, sourdough bread has become an increasingly popular choice among bread lovers. Whether you choose to enjoy it as a simple slice with butter or elevate it with artisanal toppings and spreads, sourdough bread is sure to satisfy your taste buds and leave you craving another bite.
The Sourdough Baking Process
Now that you have created a healthy sourdough starter, it’s time to dive into the sourdough baking process. This section will guide you through each step, from autolyse to proofing, to help you achieve a deliciously tangy and well-risen loaf of sourdough bread.
1. Autolyse: Improving Dough Extensibility
The autolyse is an important resting period in the sourdough baking process. It involves combining flour and water and letting them rest together before adding the sourdough starter. During this time, enzymes in the flour are activated, which improve dough extensibility and create a better texture in the final loaf.
To perform an autolyse, simply mix your flour and water together until they form a shaggy dough. Let it rest for 30 minutes to an hour, allowing the enzymes to work their magic.
2. Bulk Fermentation: Developing Flavor and Structure
After the autolyse, it’s time for bulk fermentation. This is when the sourdough starter takes center stage, leavening the dough and infusing it with flavor. During bulk fermentation, the bacteria and yeast in the starter feed on the carbohydrates in the dough, producing carbon dioxide, alcohol, and acids. These processes give the bread its characteristic tang and contribute to its airy structure.
The duration of bulk fermentation can vary depending on factors like temperature and recipe, but it typically takes anywhere from 2 to 4 hours. Throughout this time, you’ll need to perform regular folding and stretching of the dough to strengthen its gluten structure and distribute the yeast and bacteria evenly.
3. Shaping and Proofing: Preparing for the Oven
Once the bulk fermentation is complete, it’s time to shape your dough into the desired loaf and move on to the proofing stage. Shaping is crucial for creating a well-structured loaf with a beautiful crust and an even crumb.
During proofing, the shaped dough goes through its final rise before being baked. This stage allows the yeast to consume more carbohydrates and produce additional carbon dioxide, enhancing the loaf’s volume. Proofing times can vary depending on the recipe, but it typically takes anywhere from 1 to 2 hours.
After proofing, your dough is ready to be baked to perfection, resulting in a flavorful, crusty, and tender loaf of sourdough bread.

| Stage | Description |
|---|---|
| Autolyse | Resting period to improve dough extensibility |
| Bulk Fermentation | Development of flavor and structure through the growth of bacteria and yeast |
| Shaping and Proofing | Preparing the dough for the oven, allowing it to rise one final time |
Conclusion
Sourdough baking is a fulfilling and gratifying journey that allows you to create your own artisan homemade bread, boasting a distinctive flavor and texture. By following this beginner’s guide, you can develop the confidence and expertise to successfully make sourdough bread in the comfort of your own kitchen.
Throughout the process, it’s essential to cultivate patience. Sourdough baking requires time and attention to detail, but the end result is well worth the effort. The satisfaction of producing a loaf of bread that is not only delicious but also handmade is truly incomparable.
So why wait? Embrace the art of sourdough baking and immerse yourself in the joy of creating your very own homemade bread. From perfecting your sourdough starter to mastering the different stages of fermentation and proofing, this guide has equipped you with the necessary knowledge and techniques to embark on this delicious adventure. Happy baking!


Leave a Reply
Want to join the discussion?Feel free to contribute!